Create a new repository on GitHub. You can name it anything you want. It will ask you several questions about your repository - at the moment it does not matter what you choose as it
can be chnaged later, but the recommended settings are:
- Description: A one-sentence overview of your webiste
- Public
- Initialize with README
- Add .gitignore: none
- Add a license: none
Once you have done that, create a new branch in your repository called dev.
Next, go to zeit.co and login. Import your GitHub repo, which will create a new project to host your website.
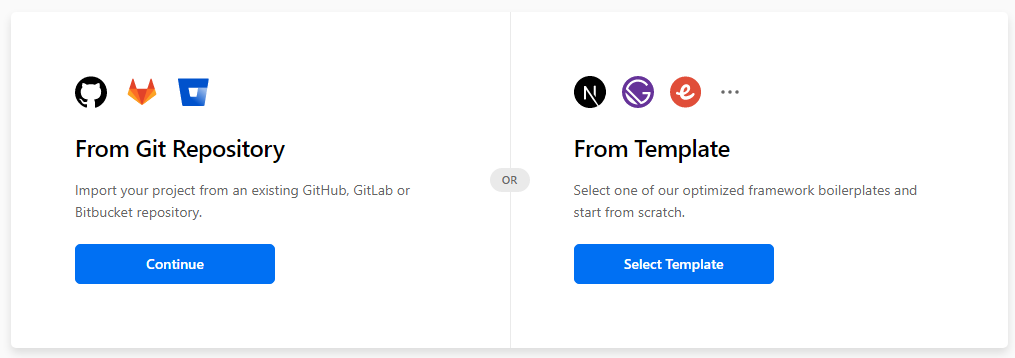
First click on "Import Project"

It's on the top-right
Choose "From Git Repository"
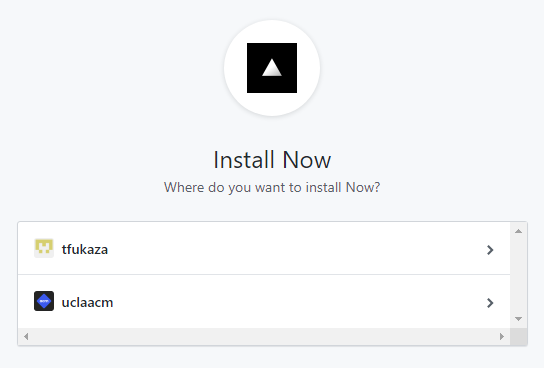
If this is the first time you are integrating ZEIT with GitHub, it will ask you to install their app.

Install the ZEIT app to your GitHub account.
Make sure you install to your GitHub account, not any other users or organizations.
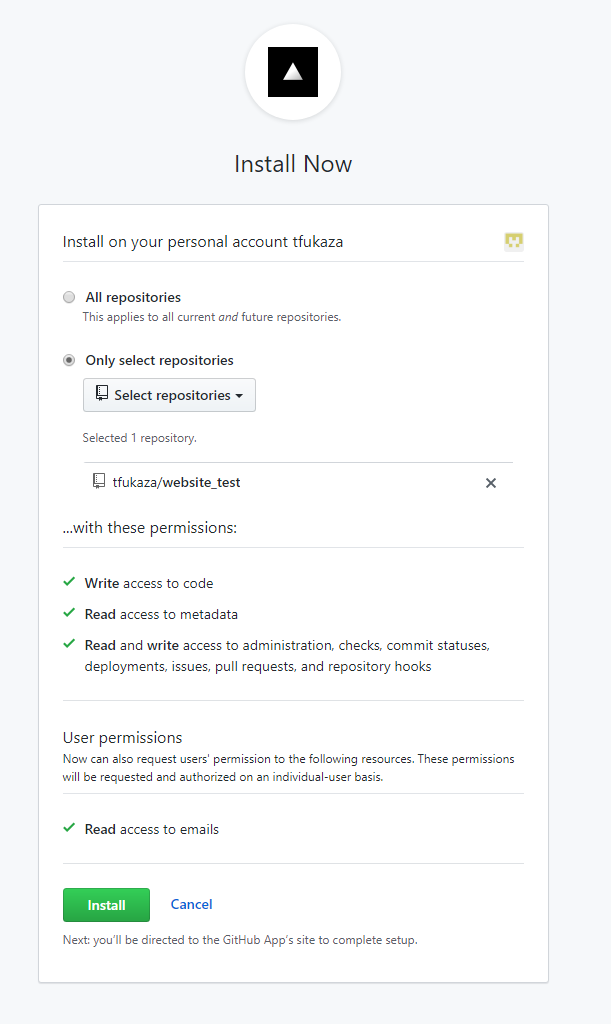
Install with the following settings. For "Select Repositories", choose the repo that has your website.
Once you have installed, choose "Import Project From GitHub"
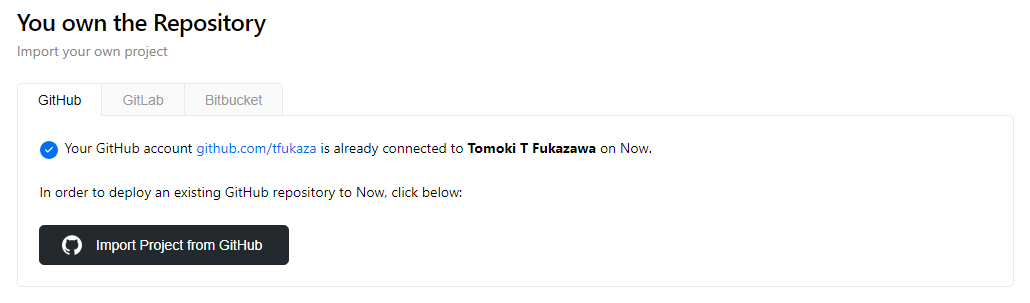
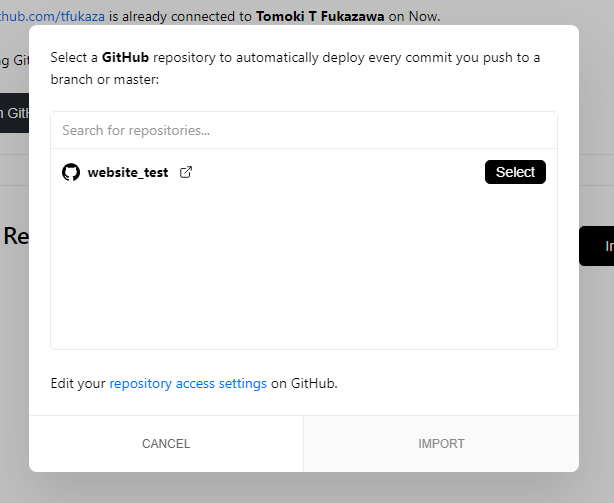
Choose the repo with your website, and hit "IMPORT"
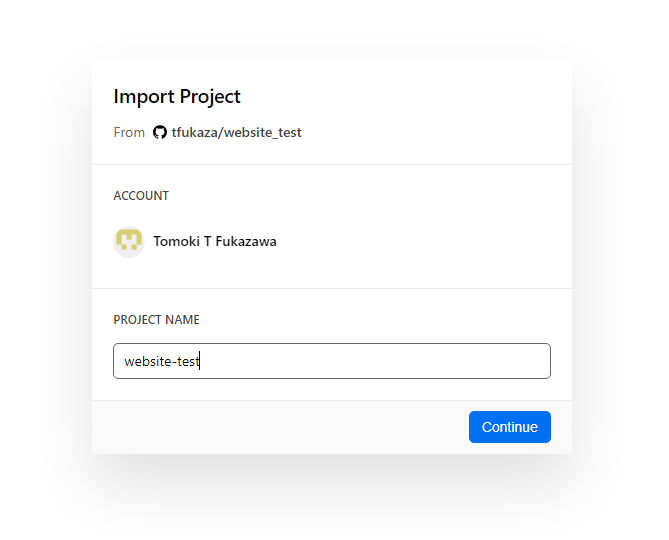
Give your project a name.
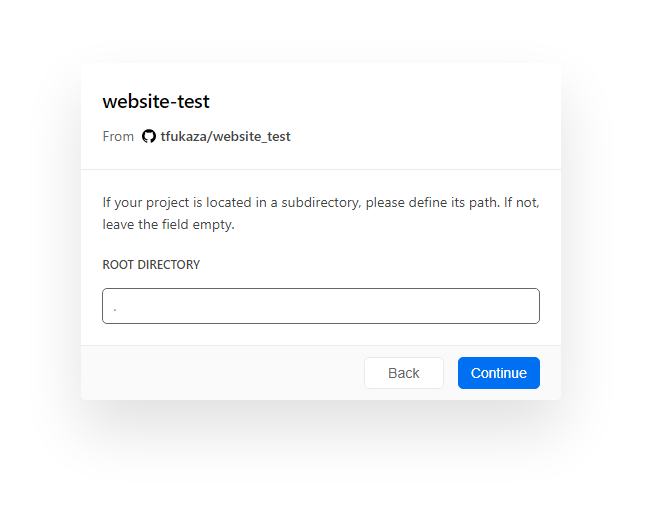
Keep this to default and continue.
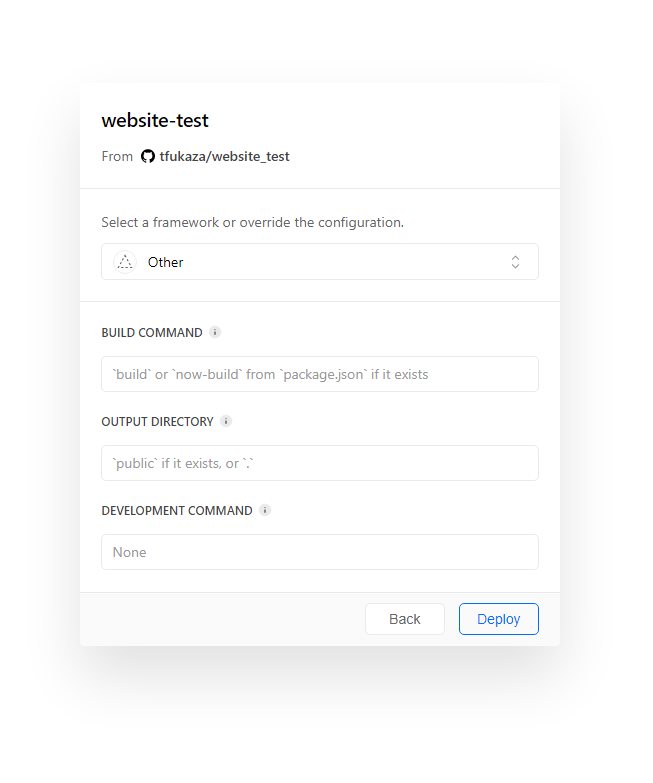
Keep this to default and continue.
Open the terminal and navigate to the directory where you want to store your files for this website.
Clone your GitHub repository to your local computer.
Open the local repository in a code editor. Switch to the dev branch, and create a file called index.html.
Make a simple hello world page, using the following code:
<h1> Hello World, this is dev branch </h1>
Add, commit, and push. If you open your ZEIT account in a web browser, you should see that the website deploys to the development server.
Return to your code, and switch to the master branch. Make a file called index.html again,
but this time use the following code:
<h1> Hello World, this is master branch </h1>
If you add commit push this, you will see that the website is deployed to the production branch.
Save the URL of your github, ZEIT development deployment, and production deployment, so it can be submitted later.
Lastly, add the URL of your ZEIT production deployment to the GitHub repository description.